Reviewing the underlying data stores
As a result of the registration process, data is created and persisted in the system. Let’s take a look at the details of what was created so that we can understand the process better.
In Fauna
Return to the Fauna dashboard and expand the sections in the left-hand navigator.
-
Click Collections > tenant > Documents. Then click into one of them to reveal the data. The data stored in the document should match the data you entered when you registered the tenant.
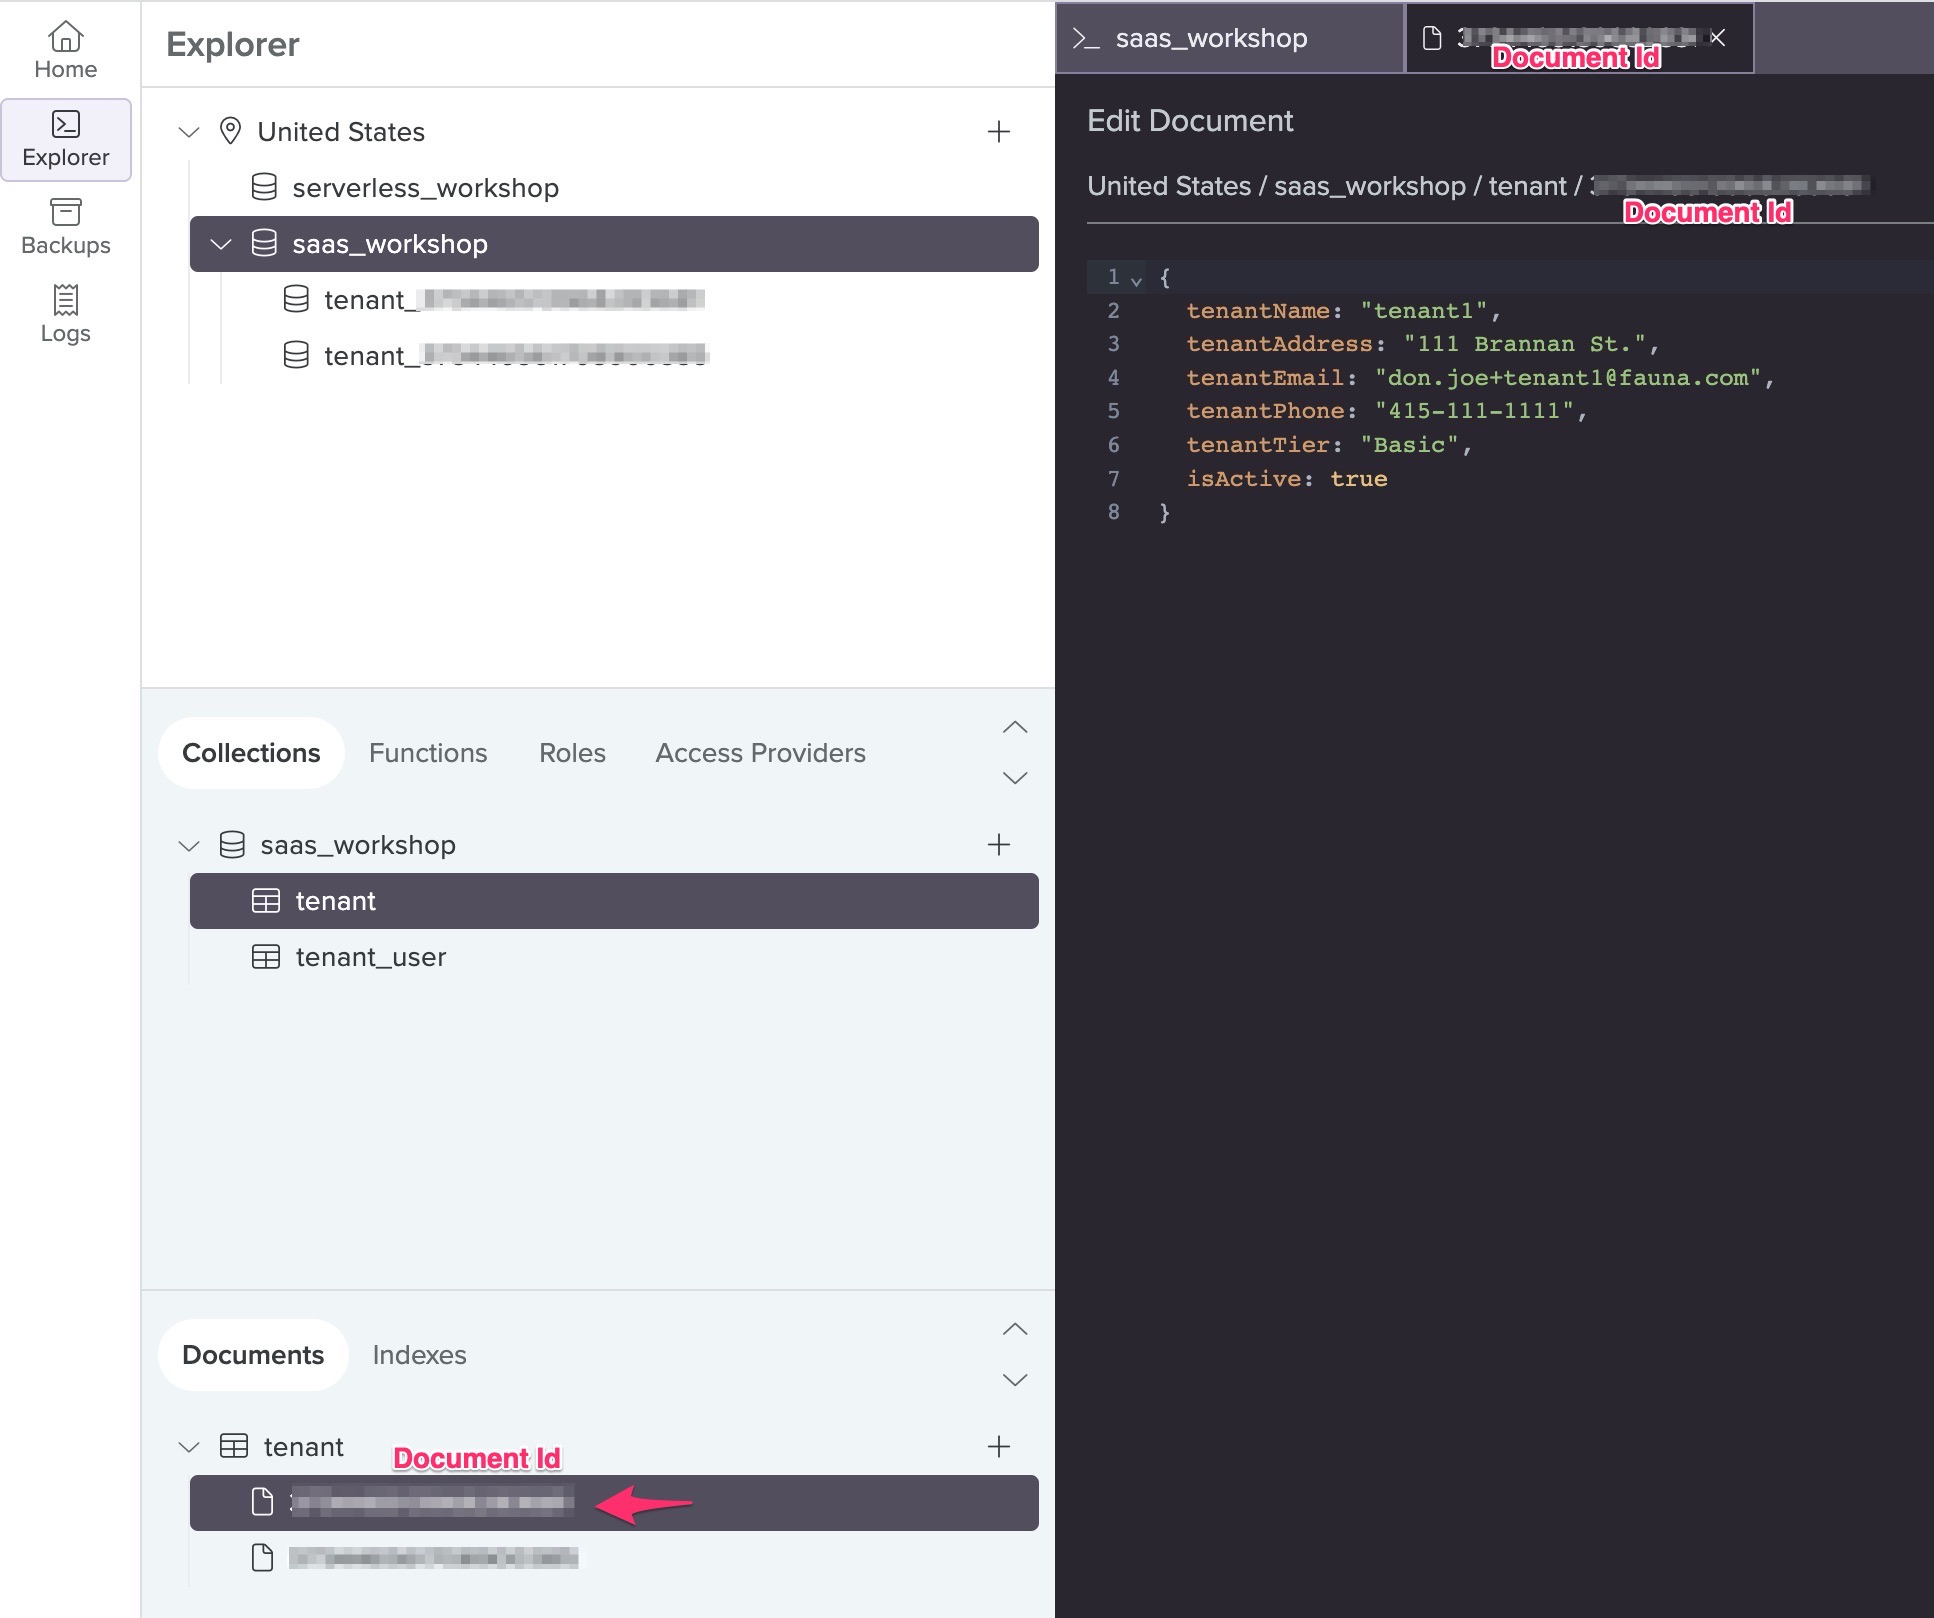
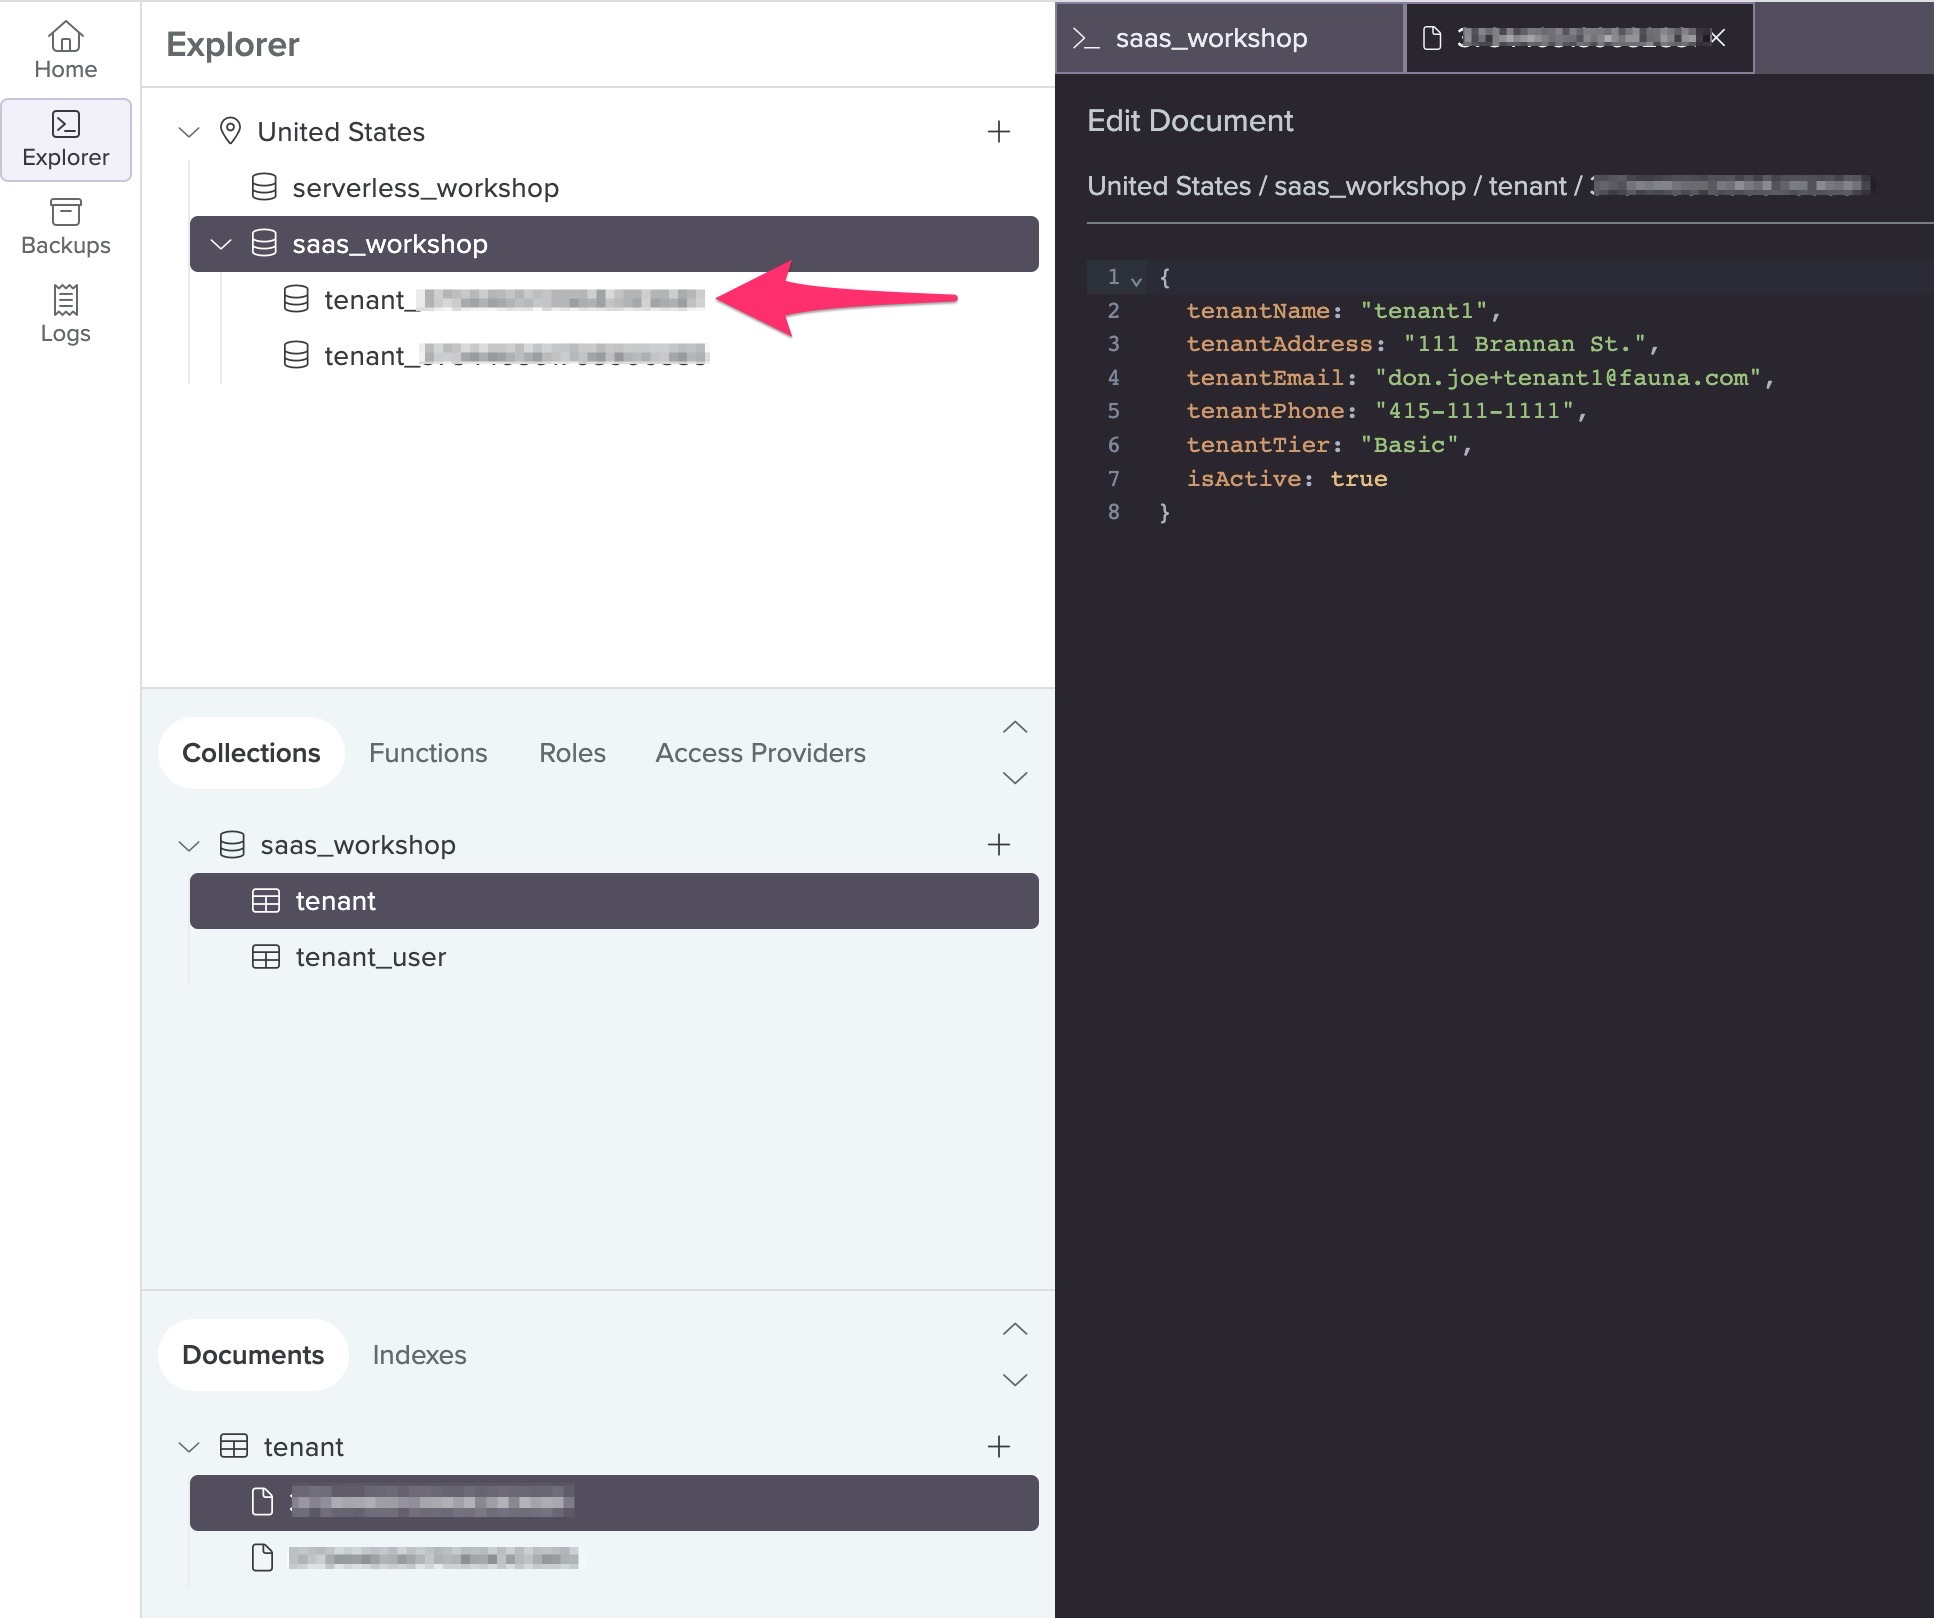
In addition to provided data, Fauna automatically generates Document Ids for documents it saves. Take note of the Document Id generated for the tenant document above. The Tenant Management microservice uses its value to generate a name (concatenating “tenant_” + Document Id) and creates a child database with that name.
Exercise: See if you can locate the snippet of query that’s used to create this child database.
Answer/Hint:
- The implementation is contained in /Lab2/server/TenantMangementService/tenant-managemement.py
- Find the Fauna query inside the create_tenant() function and examine the code.
- Find the part of the query that creates the child database:
42        Database.create({
43          name: "tenant_" + t.id
44        })
45
-
Now take a look inside the child database. Click into the child database. Then, notice that it has the Order and Product collections, ready to be populated by their respective microservices (In Lab 3, we’ll take a look at this in action).
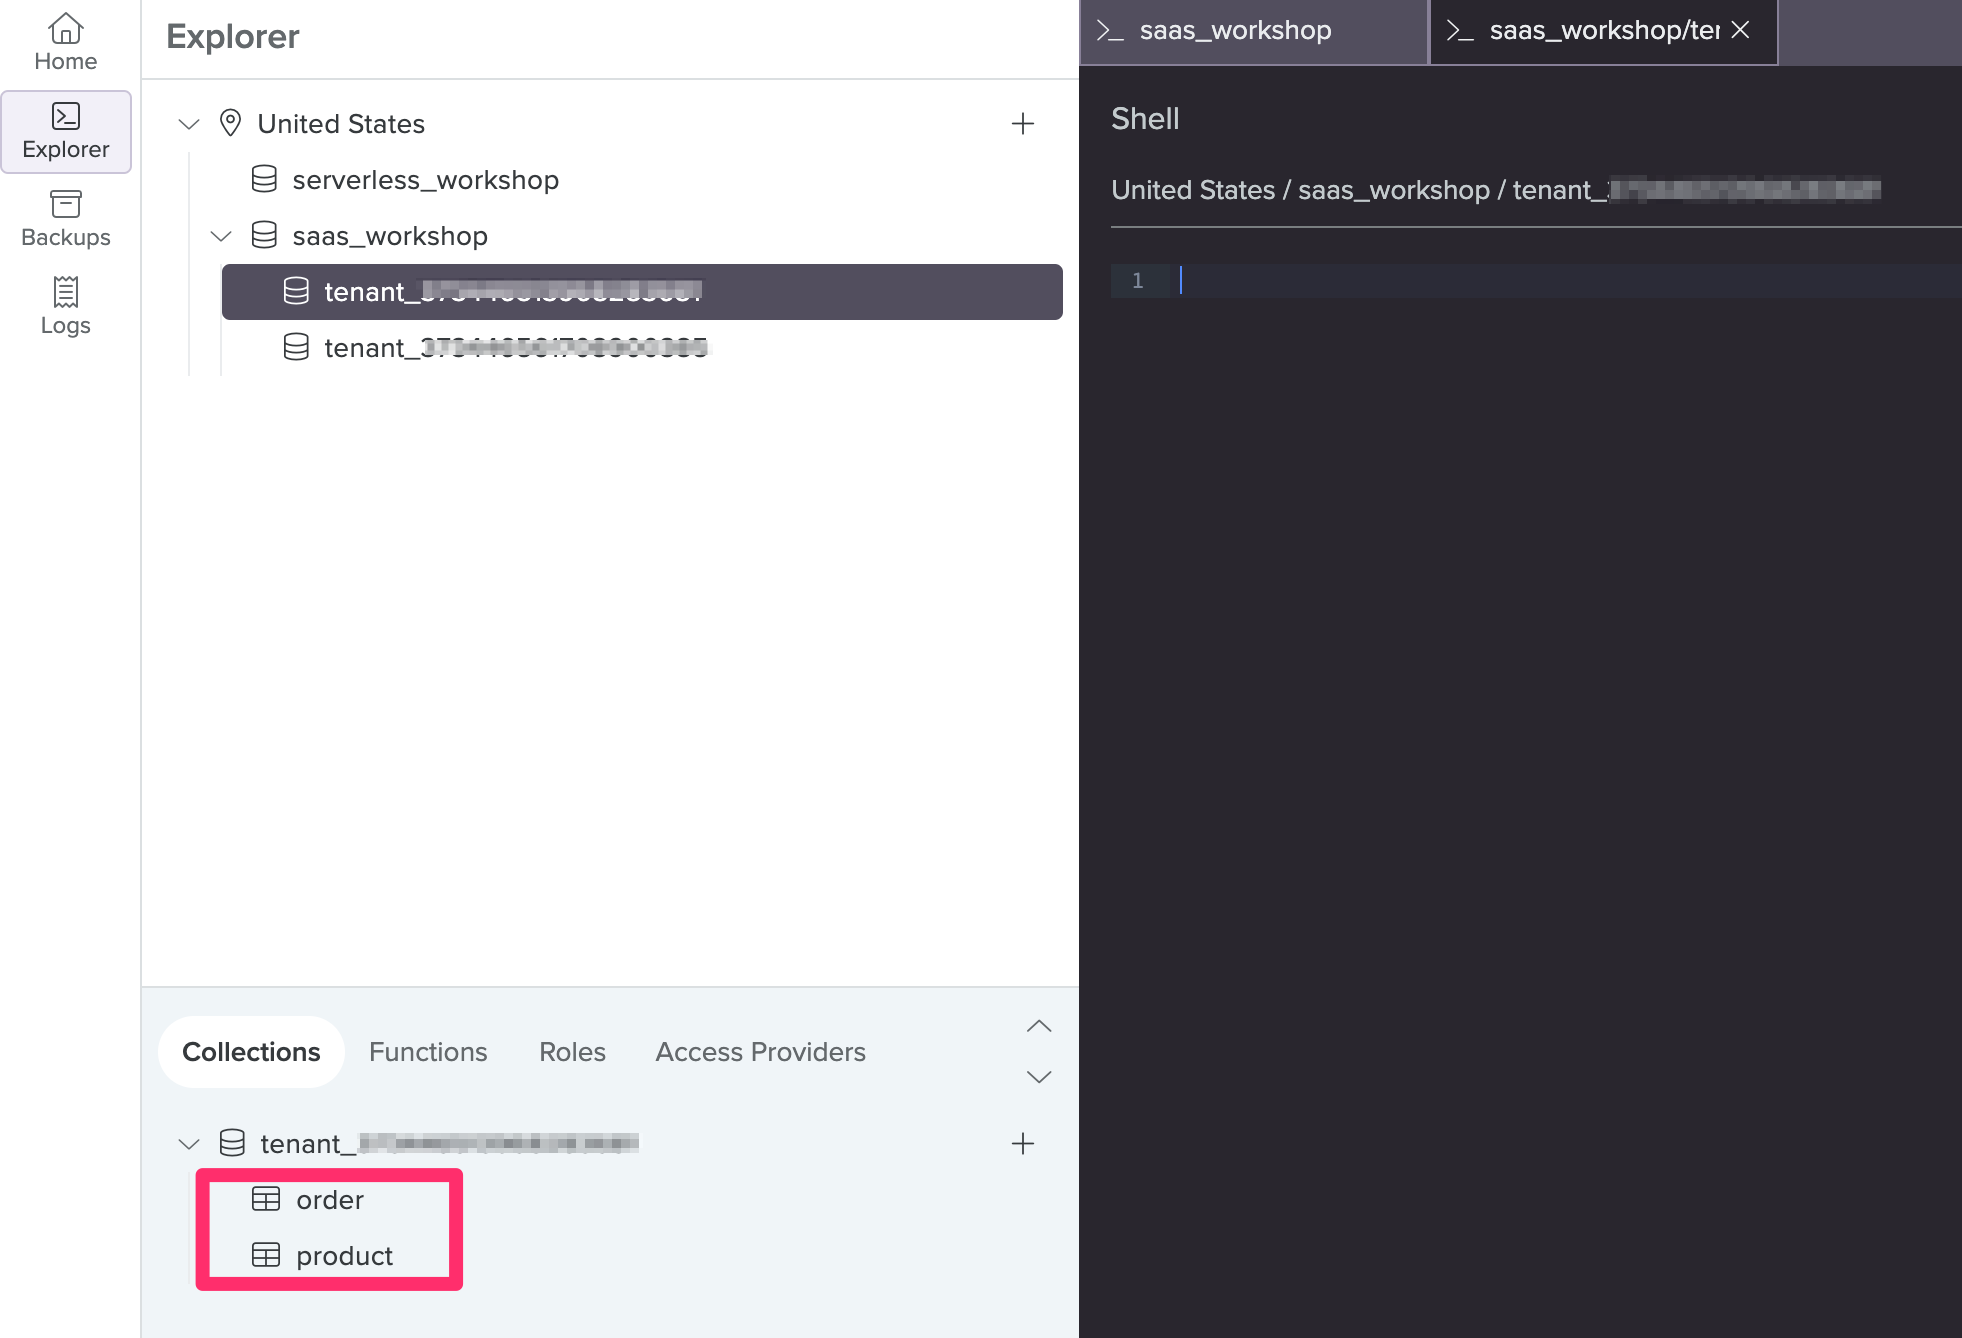
These empty collections were also created with a Fauna query. Find the snippet of code where this happens:
- In /Lab2/server/TenantMangementService/tenant-managemement.py, locate the __create_tenantdb_resources function:
def __create_tenantdb_resources(tenant_id):
    global clients
    db = FaunaClients(clients, tenant_id)
    result = db.query(
        fql("""
        Collection.create({ name: 'order' })
        Collection.create({ name: 'product' })
        """)
    )
Cognito
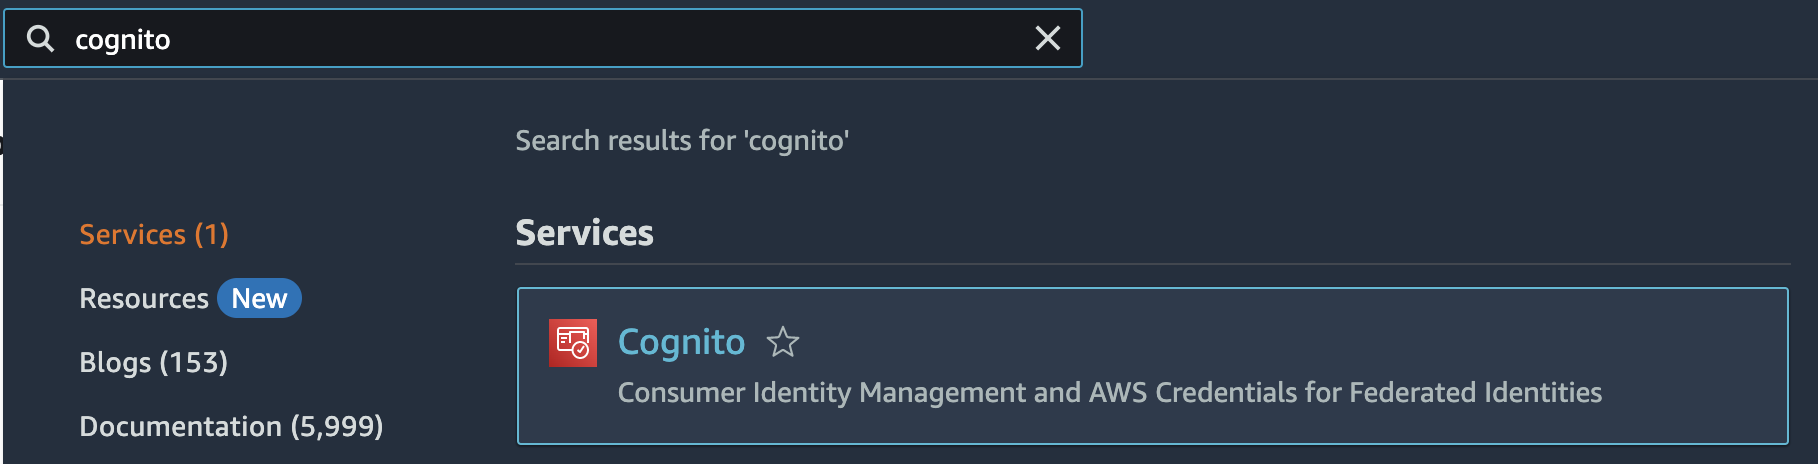
Head back to the AWS console. Navigate to Cognito, by searching for “cognito” in the console search bar:
-
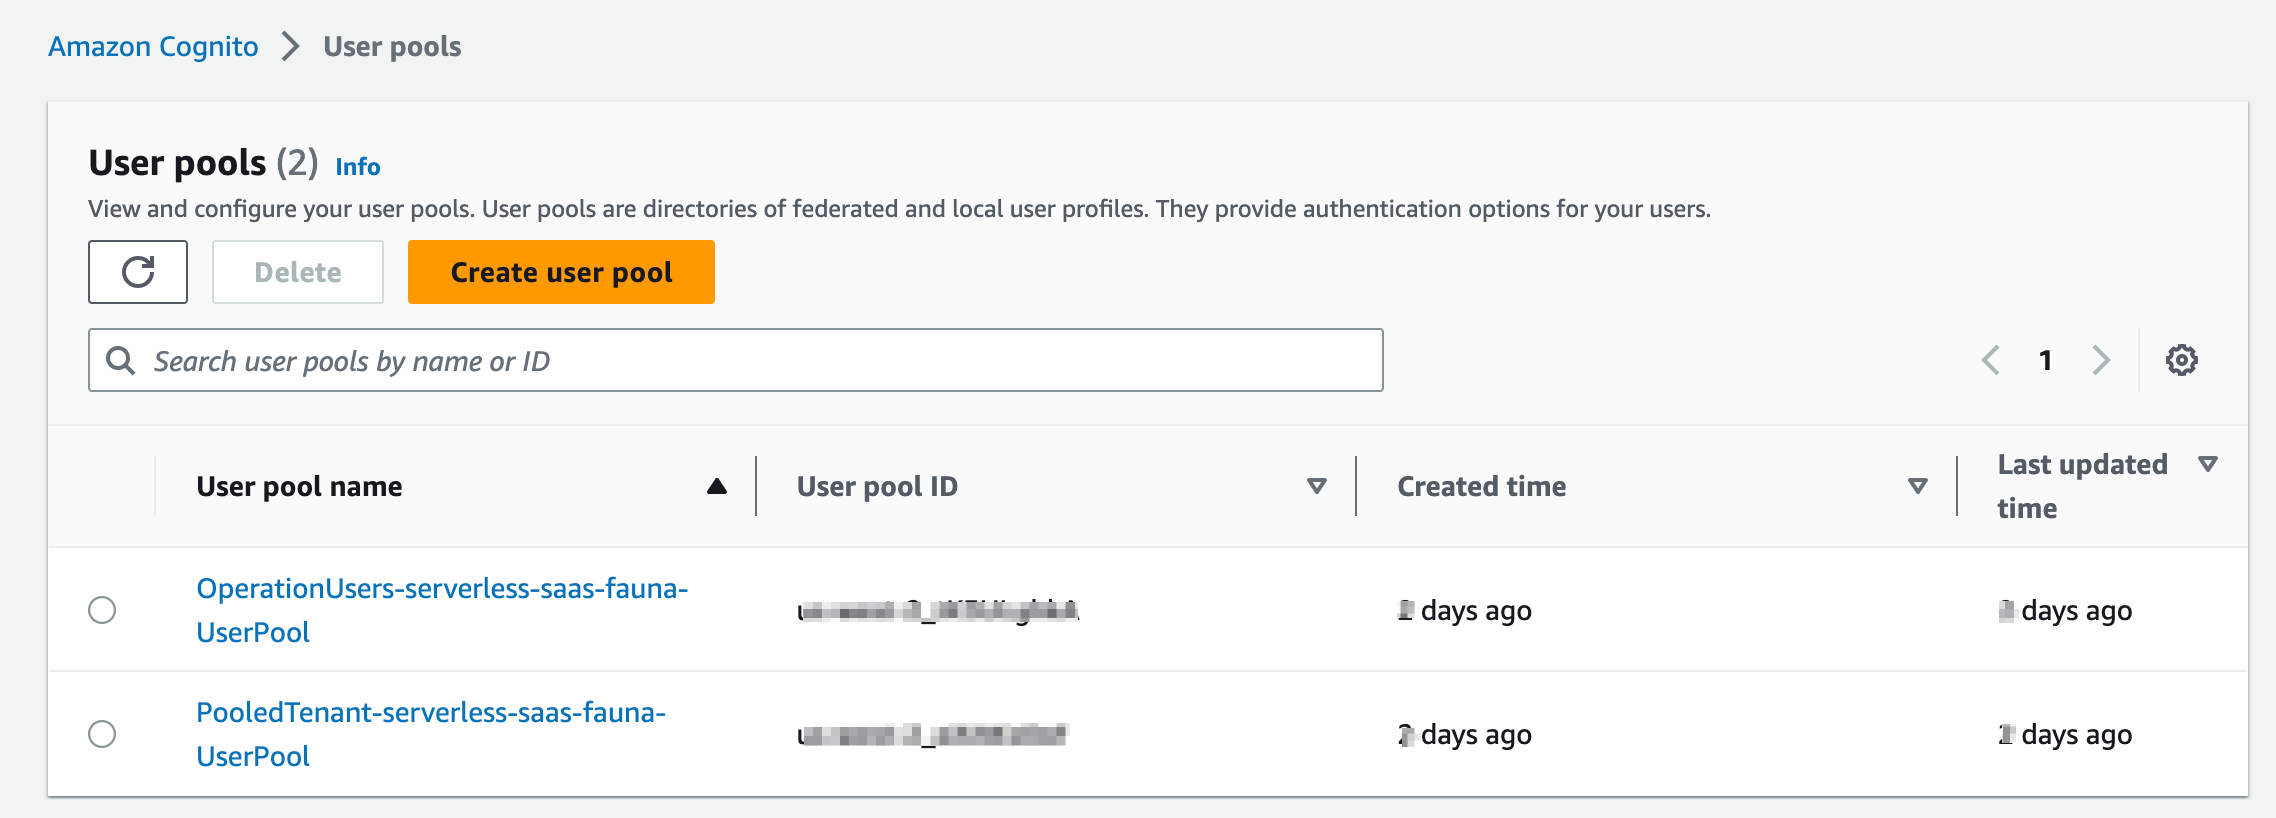
Notice the two user pools that was deployed for us.
- “OperationUsers” is used to store SaaS admin users. Recall that the this lab’s deployment process created an admin-user user, which you used to sign-in to the SaaS Admin application. That user lives in this user pool.
- “PooledTenant” is used to store tenant user information that is created during the tenant registration process.
-
Click on the “PooledTenant” user pool and notice there should be one “tenant admin user” for every tenant you created in the previous two sections.
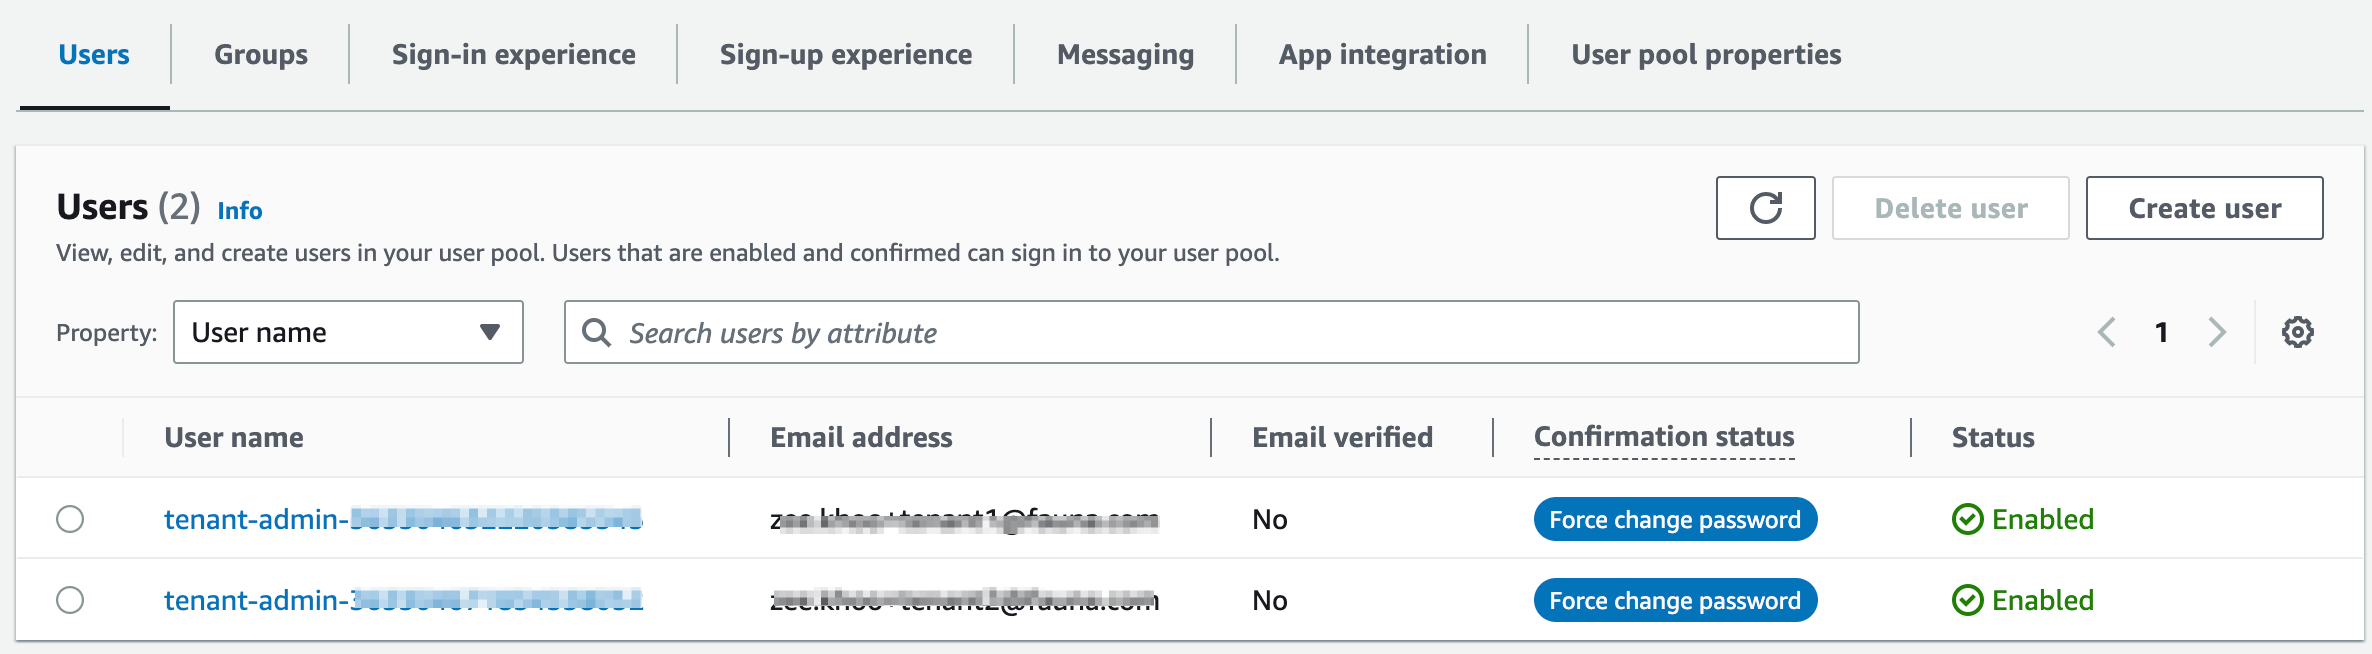
The username takes on the format tenant-admin-{{tenantId}} and is simply a convention we cooked-up for this lab. tenantId, in this case, is simply the Document Id of the tenant document created in Fauna. The implementation can be found in the user management microservice’s create_tenant_admin_user() function (in the sample project’s /Lab2/server/TenantMangementService/user-managemement.py file)
-
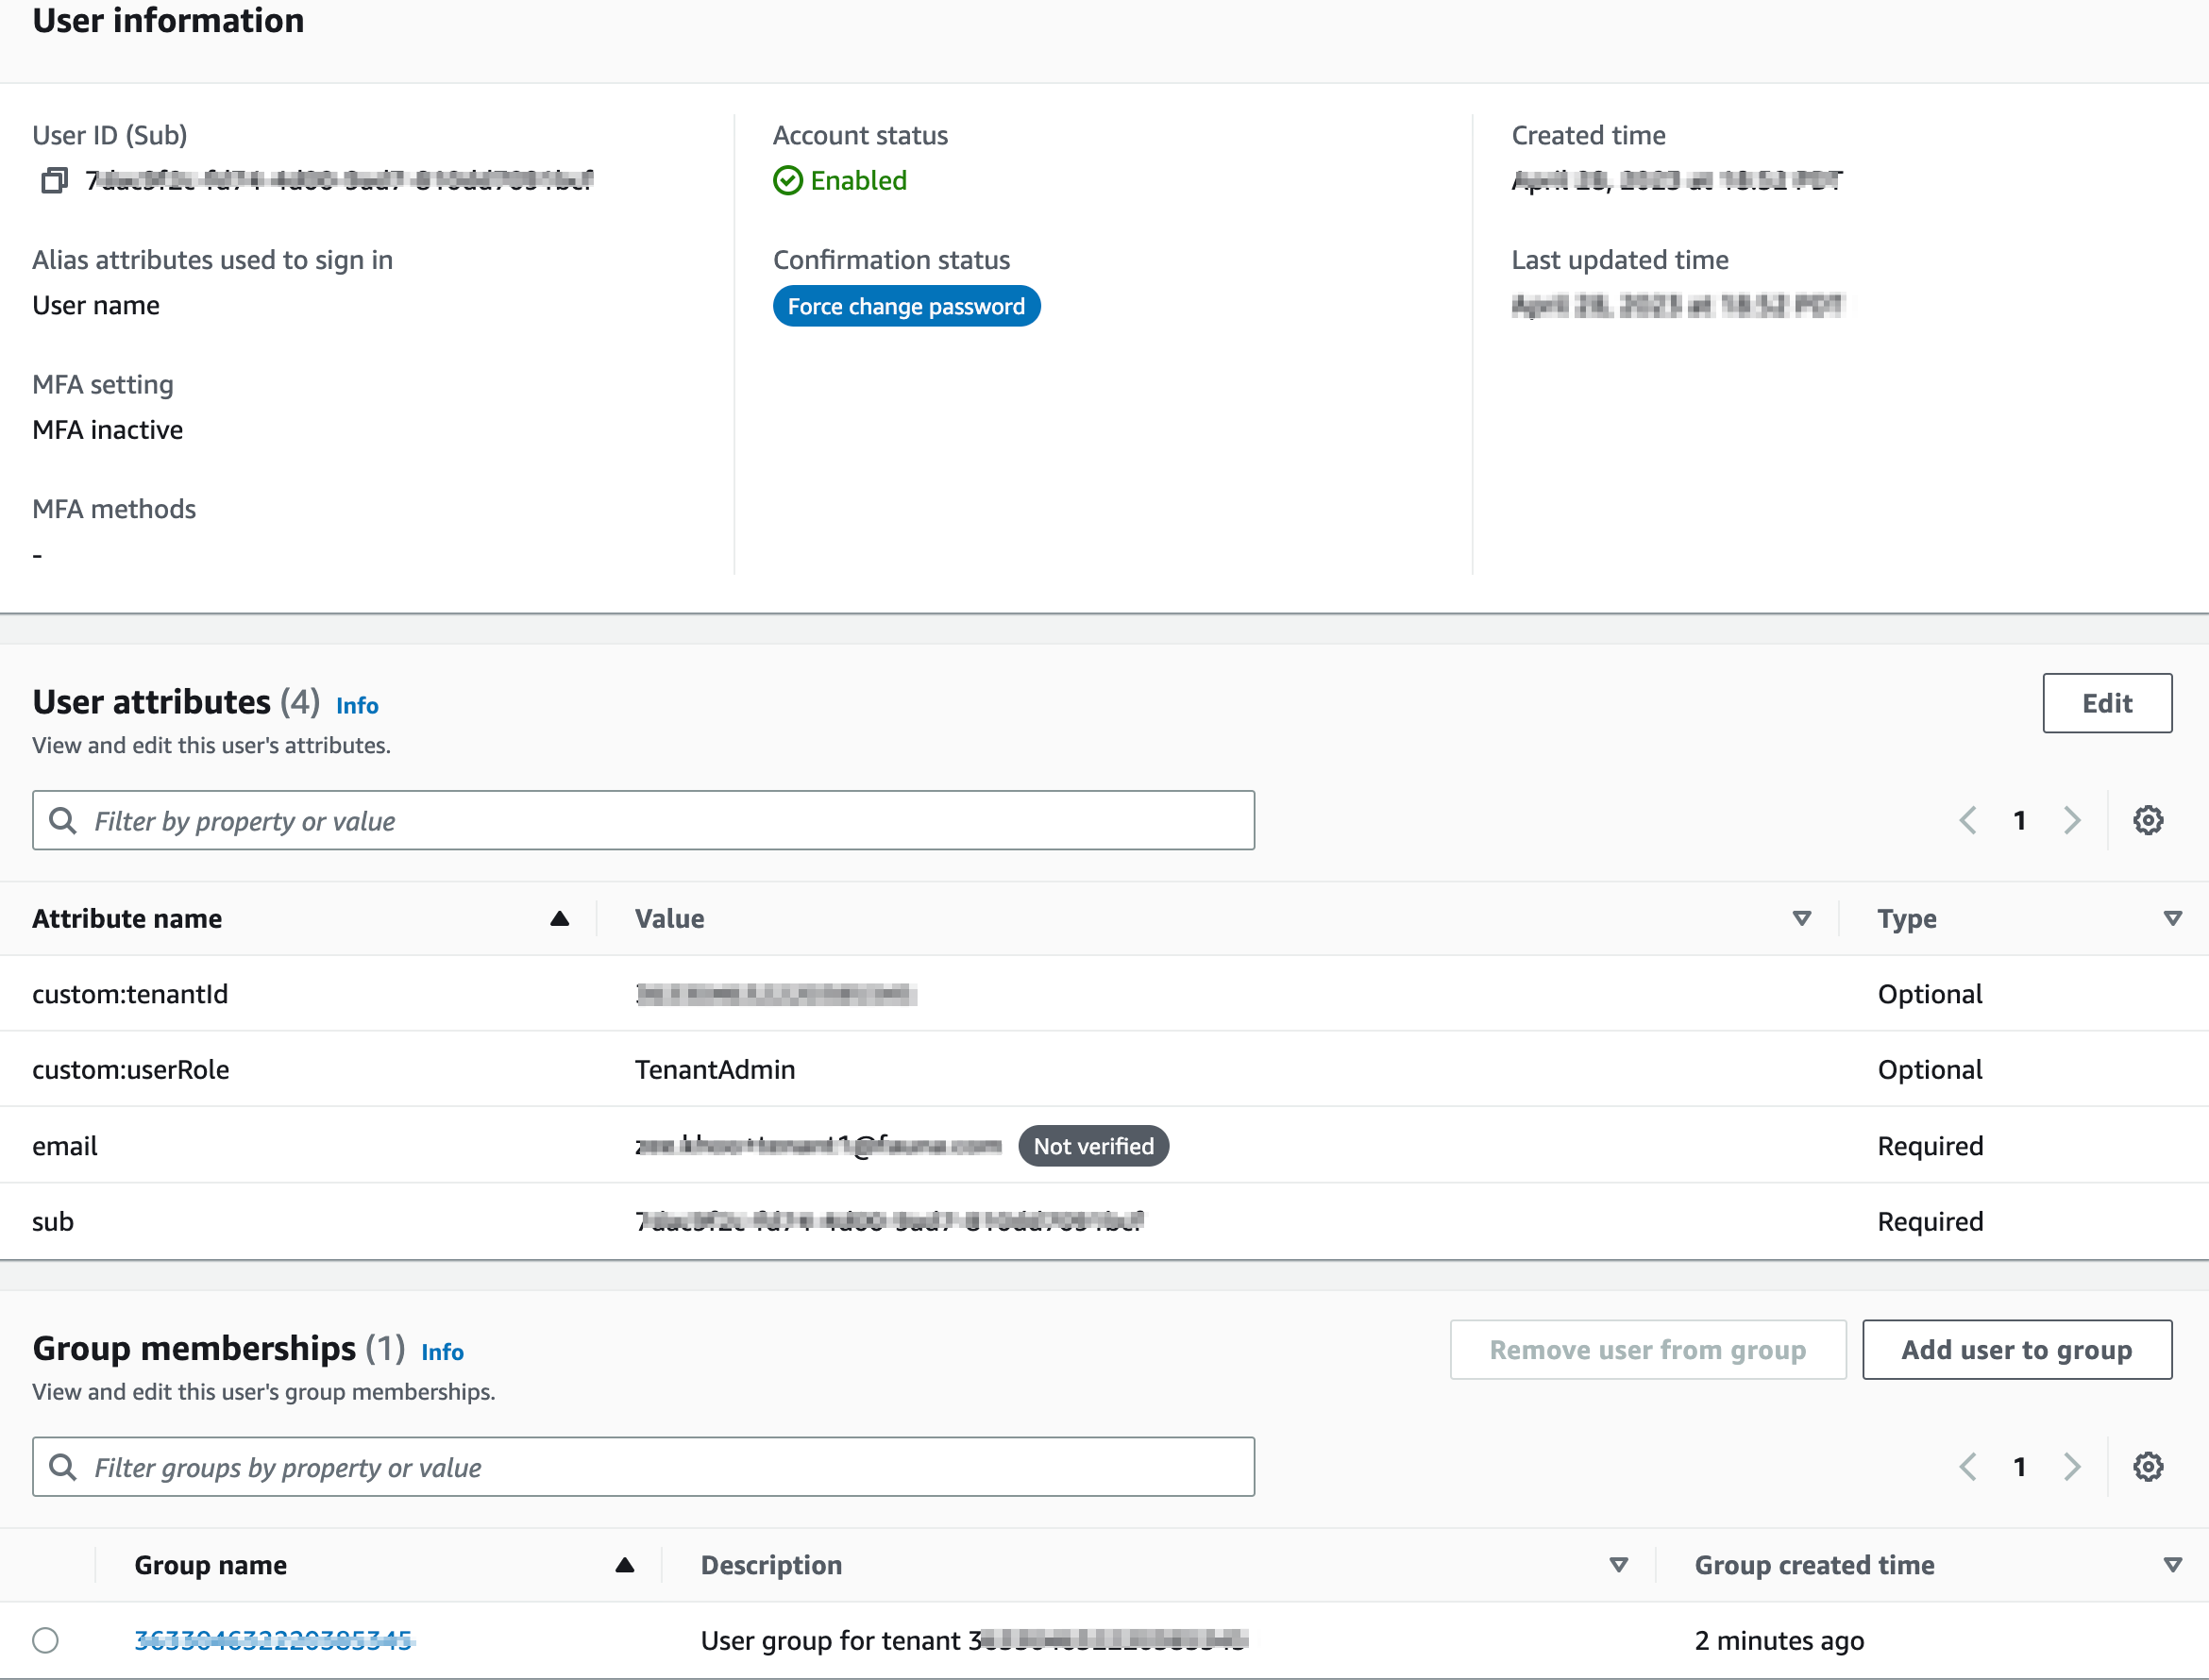
Click on any one of the tenant-admin users and take a look at User attributes. Here you’ll find the tenantId (attribute name = custom:tenantId) and another custom attribute, custom:userRole. These custom attributes allow us to create a binding between a user and a tenant. Whenever a user authenticates, the token that is returned will include these custom attributes, enabling easy access to tenant context throughout the system. This context will play a key role in our implementation of data partitioning and tenant isolation in Lab 3.
Tenant-User mapping
Back in Fauna, expand Collections > tenantUser > Documents and click into one of the documents.
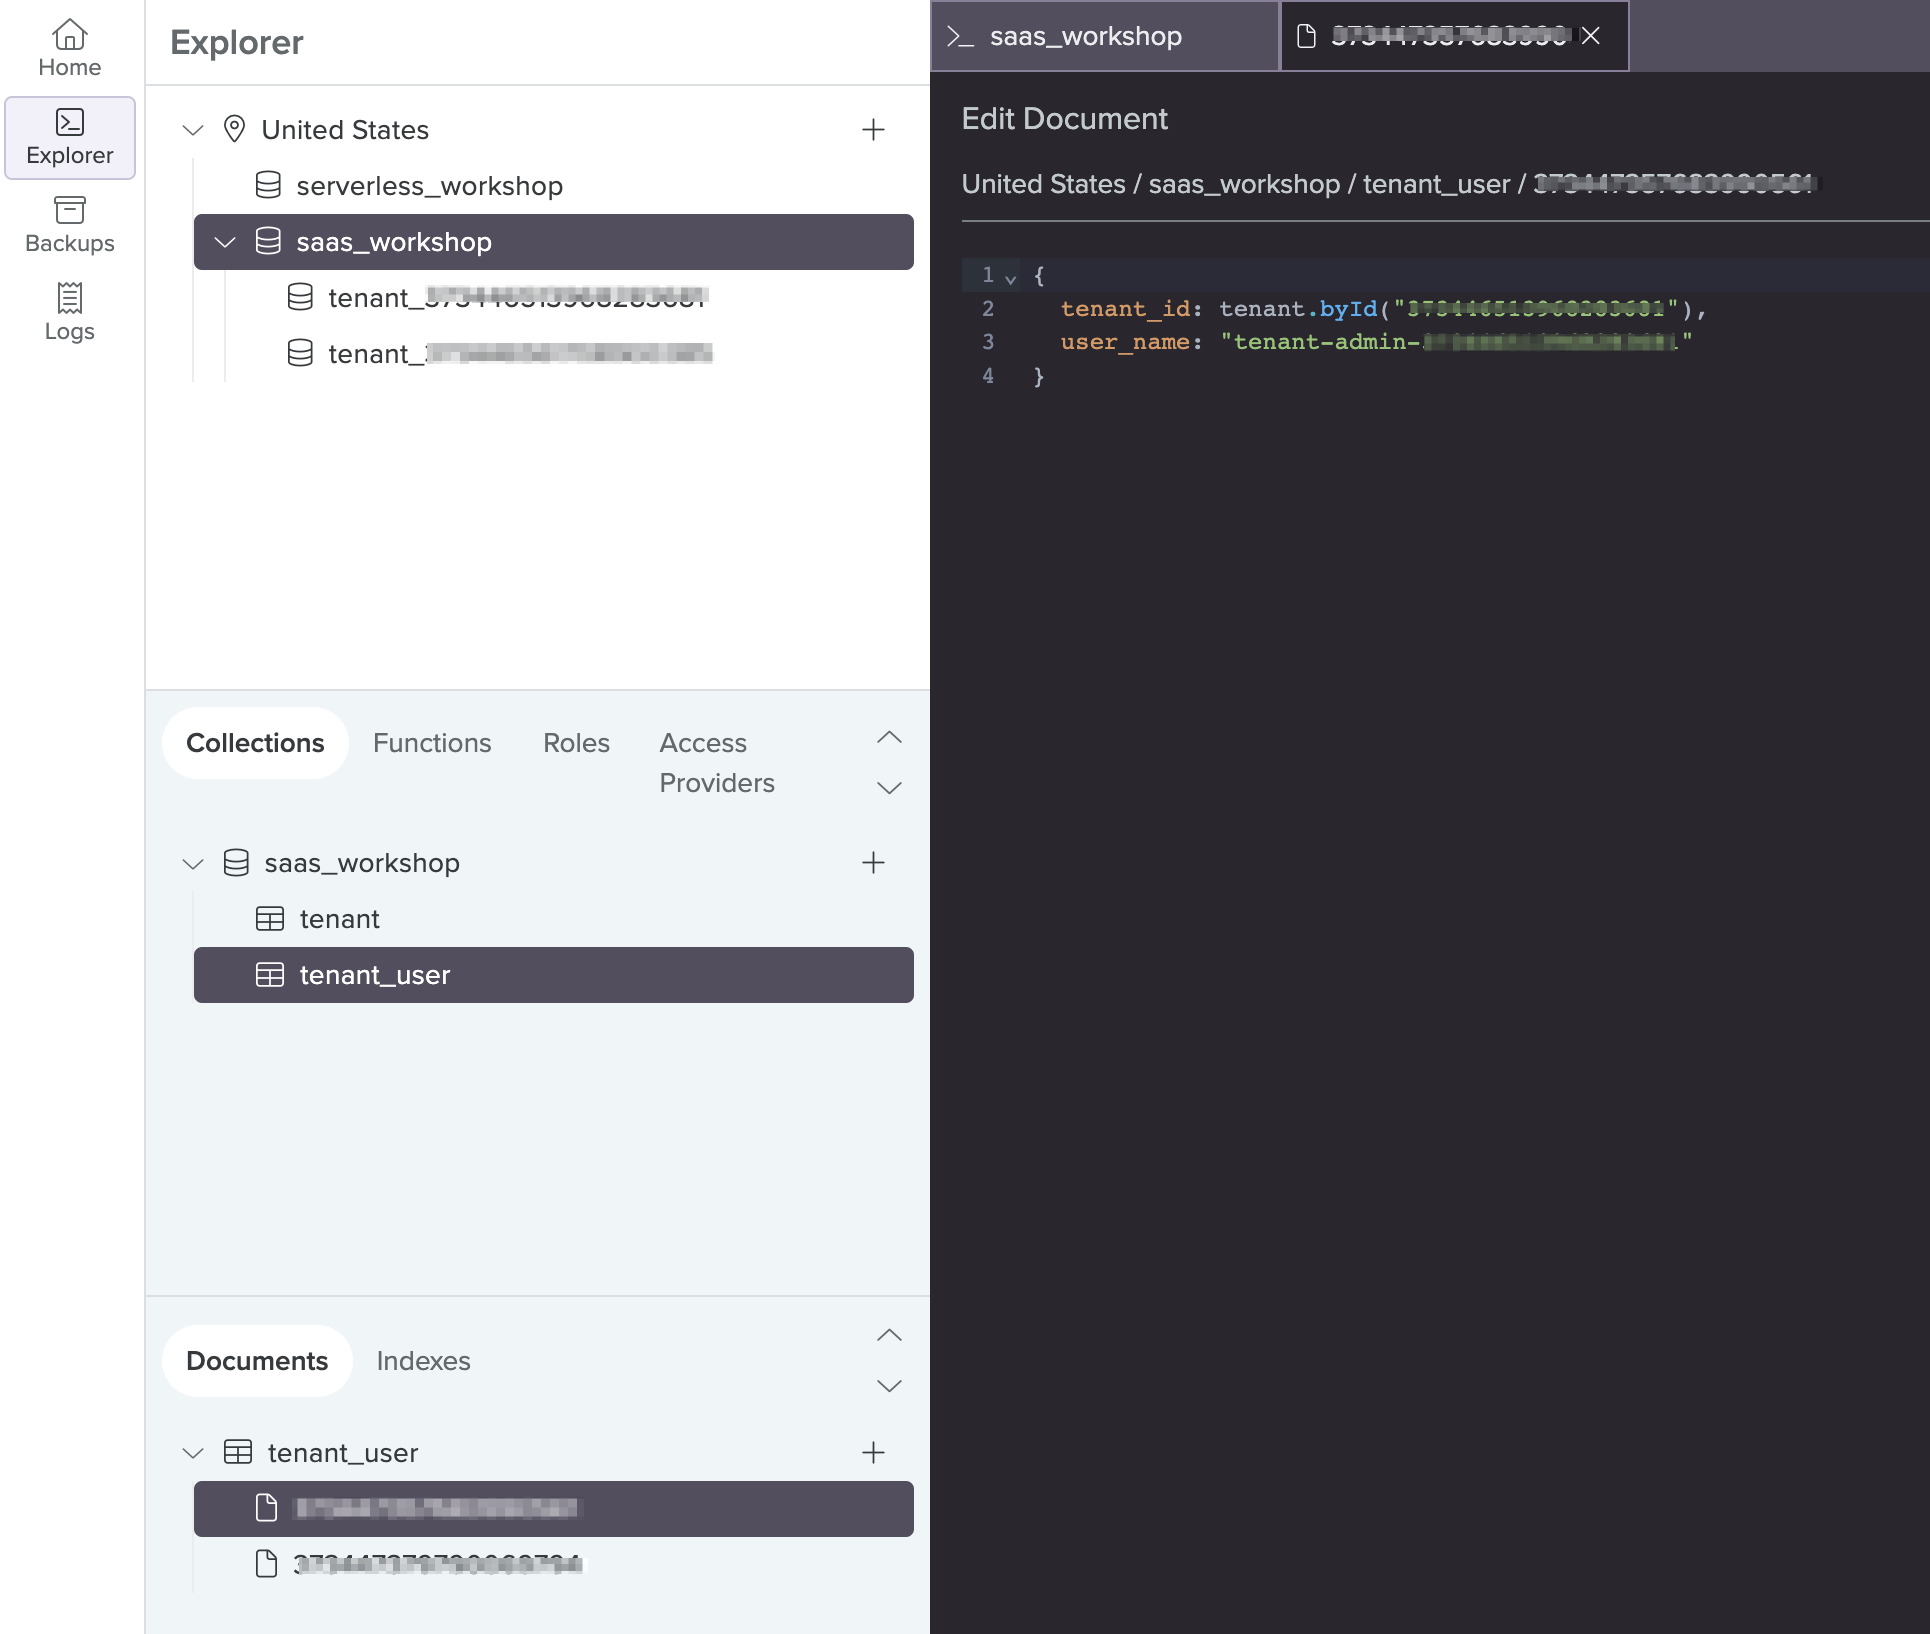
Our microservices have functional requirements that require knowledge of the which tenant admin belongs to which tenant. We use this collection to store that information. e.g.
{
  tenant_id: tenant.byId("123"),
  user_name: "tenant-admin-123",
}
user_name stores the username of the tenant admin user in Cognito. But pay attention to the format of the value stored for tenant_id. Fauna is document relational, having full support for joins and relations, while storing data as documents. The syntax applied to the value of that tenant_id, tenant.byId("123"), should be self-explanatory - means it is a join to the Tenant document having Document Id = 123.
Next Lab
In this lab we introduced the concept of shared services and onboarded a couple tenants. We saw how the user data is stored in an Identity Provider service (Cognito) whereas Fauna is the main operational database, persisting all other information. At this stage however, our product and order microservices have no mechanisms to track which tenant is trying to access the system and how to even partition the business service data by tenants. Let’s review how we can add authentication and data partitioning to our business services in Lab 3.