Cloud9 IDE setup
Cloud9 IDE Setup
You can deploy the workshop from your local machine if you want (skip this section and over to the Own Workshop Setup for this), but we recommend using AWS Cloud9 integrated development environment (IDE).
Cloud9
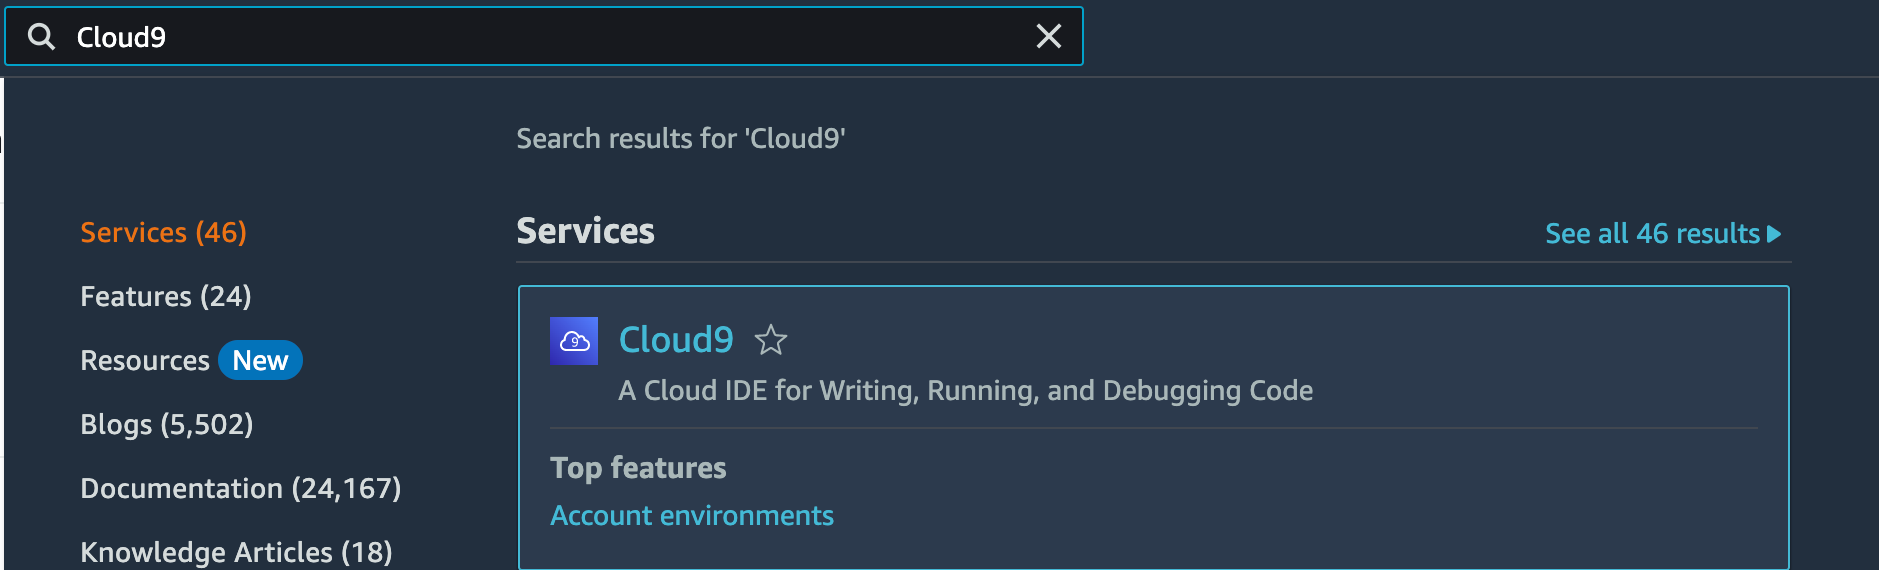
- In your AWS Management Console navigate to Cloud9 service, by searching Cloud9 in the search bar.
- Click on create environment.
- Provide a name, description and select environment type as “New EC2 instance”.
- Then under “New EC2 instance” select “Additional instance types” and we recommend that you choose a “t3.large” or higher configuration. You can leave other options as default and click “Create”.

- To launch the Cloud9 IDE, select Cloud9 instance you created and then click Open in Cloud9
Clone the project
- Run the following command to clone the workshop
git clone https://github.com/fauna-labs/fauna-serverless-saas-workshop.git
Install the pre-requisites
- Use the script below to increase the disk size of your Cloud9 instance to 50 GB. This is needed to be able to build our workshop.
cd ~/environment/fauna-serverless-saas-workshop/Cloud9Setup/ ./increase-disk-size.sh - Run the script below to install the project dependencies.
 cd ~/environment/fauna-serverless-saas-workshop/Cloud9Setup/
 ./pre-requisites.sh
Setup the environment
-
cd into the Lab1/scripts folder
cd ~/environment/fauna-serverless-saas-workshop/Lab1/scriptsRecall that during the Fauna setup, you generated an API Key for your database. This Key is to be used when instantiating a Fauna client (in the Lambda functions that implement the sample project’s APIs) to communicate with the database. We’ll also be using this key to run some scripts to setup the database with its initial schema of Collections and Indexes. In the following step, all we need to do is setup this Key in an .env file, which our deployment script will pick up and push to the appropriate resources where it is needed.
-
A template file .env.template is located in this folder. Make a copy and name it .env
-
Update the FAUNA_API_KEY variable to the value saved previously, when you generated an API Key using the web shell
-
Use the default value for STACK_NAME (this is a string prefix that AWS SAM prepends to provisioned resources)
-
Since we’re using the Cloud9 IDE, leave AWS_PROFILE as default
The following shows an example .env file entries:
STACK_NAME="serverless-saas-fauna-workshop-lab1"
FAUNA_API_KEY="<the API Key>"
AWS_PROFILE="default"
-
Next stop: Lab1
The setup is now complete. Now, head over to Lab1 to begin the workshop.